Pages

Thursday, August 1, 2013

Bathroom #1 Makeover!

Sadly, we do not have a "Master" bathroom in our house.  This is our (mine and Justin) bathroom, simply because it is right next to our bedroom.  It's small, laid out in a very bad way, and was in major need of an overhaul.  

Here are the before pictures:
Very blah, very 1990's.  I can't stand black and brown/wood together, and considering the blue/gray tile, I had my work cut out for me figuring how to tie everything together.

Um, EWW toilet!  And who buys those cushioned seats?!  So unsanitary!

Again, blah.

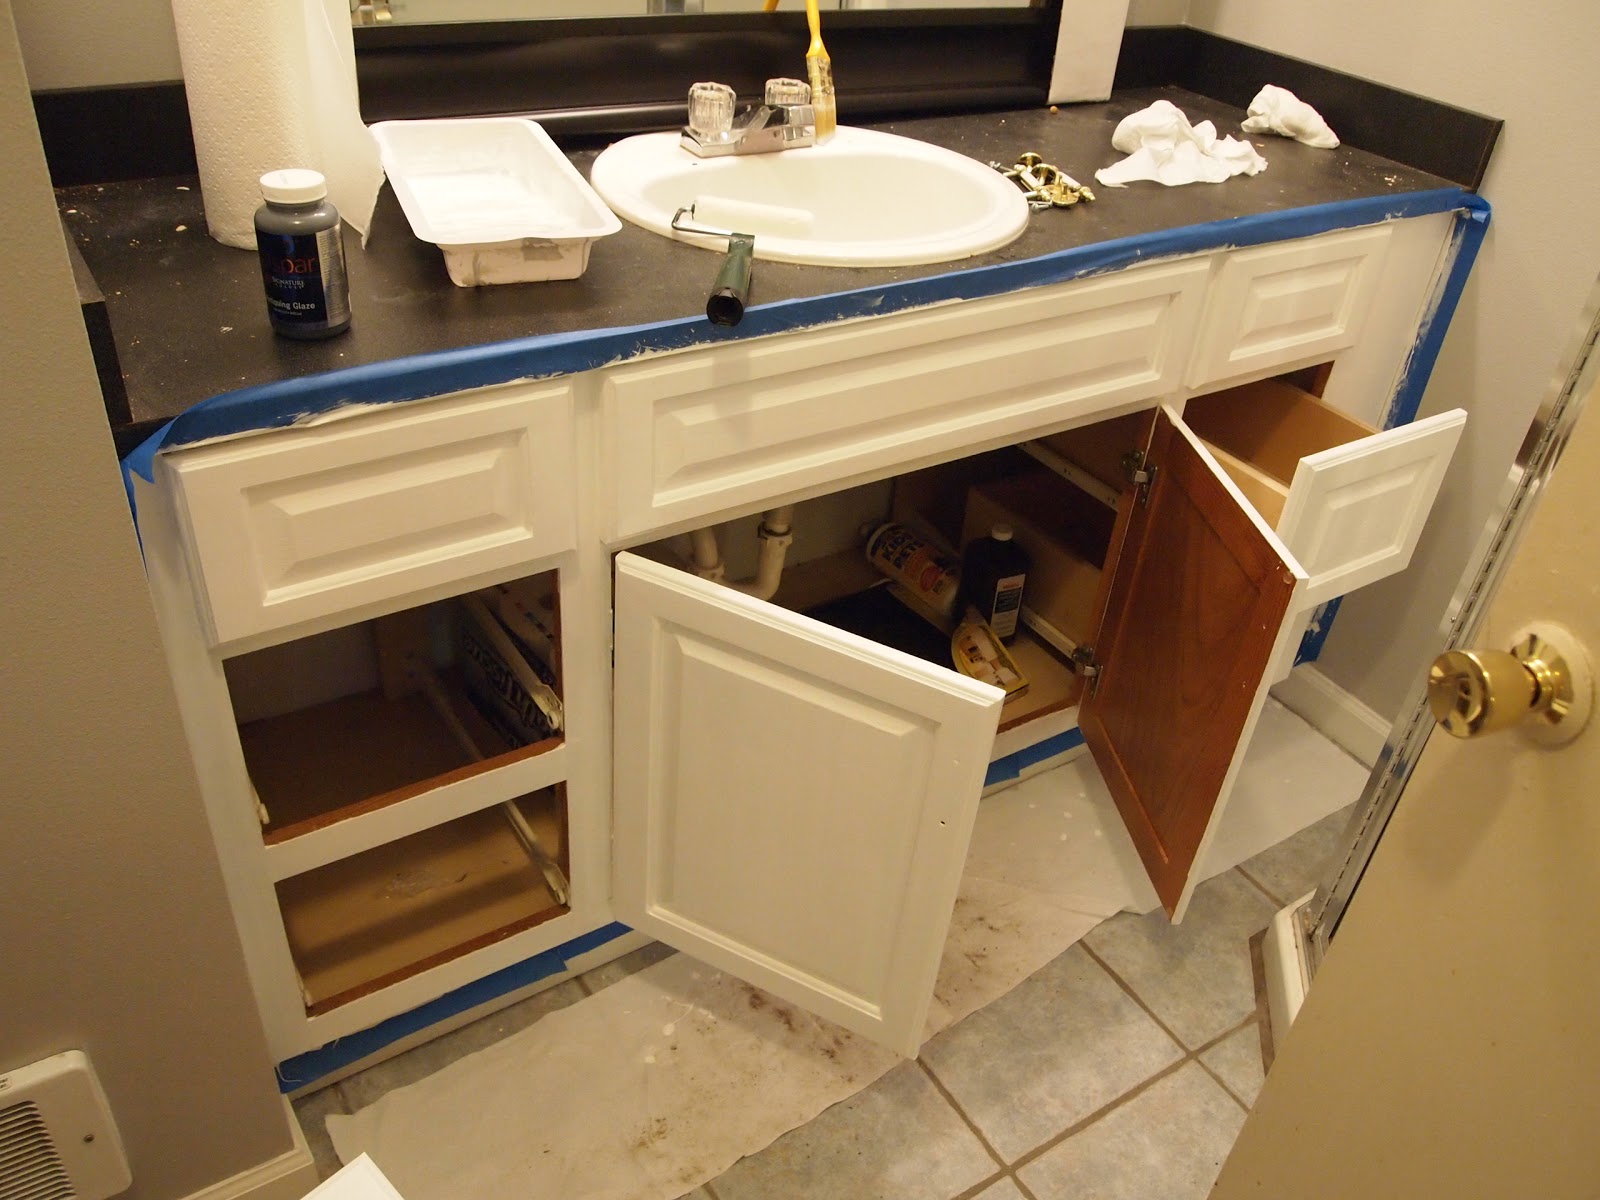
So, I set to painting the vanity.

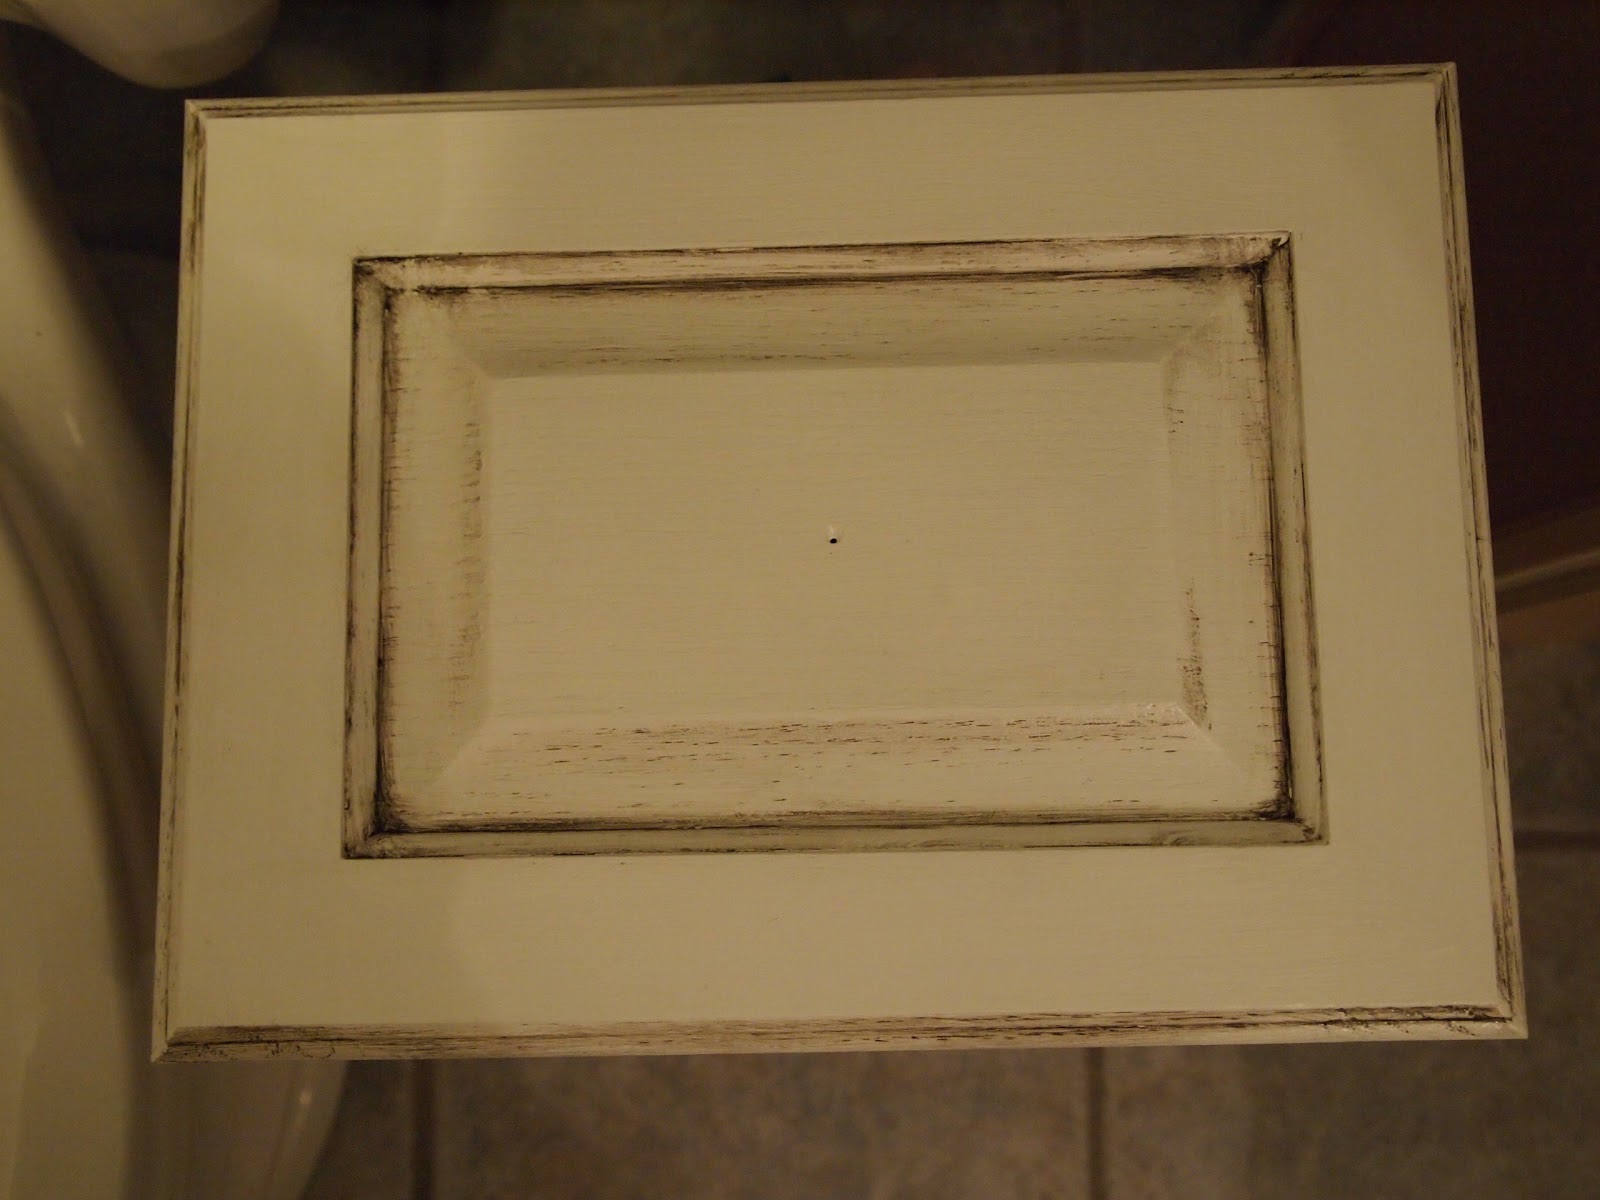
And then glazing it.


Wha-la!  Refinished vanity!  We got the mirror at a Black Friday sale for $40 from Lowes!  Add a bit of artwork on the wall and things start coming together.  We also painted the walls a soft gray color.

I went to my local hardware store and had some shelves cut.  Next I painted them black to add a touch of class.  Add in some baskets from Ikea for storage, and then some ironwork that was looking for a home.


Overall I am very happy with how it turned out.  Amazing what some paint and hard work can do!


Monday, April 15, 2013

Living Room Progress

Wow, it has been a LONG time since I updated this blog.

I'm not even going to go into details of what we've done since I last posted.  There's been a lot of work done.  And the important thing: we're all moved in.  And have been for 3 months, lol!

But I wanted to give you the before and after pictures of the living room since that is the room that is the most finished.  It's not totally done, but it's nearly there.

BEFORE

The flooring was not in great shape and a color I didn't like.  I know it might seem like a sin to paint that wood trim around the windows, but it wasn't taken care of and had paint smears on it.  And look how dark it made the whole room...

Yeah, I have no idea what was in that white square in the wall...  And there is the handsome hubby!

The people who owned the house before us were foreclosed on.  They took a few things when they got kicked out.  The fireplace was one of them...


AFTER
Sorry for the low quality image.  With so much back light I had to do some major lightening of the image so you could see anything.  But there are my beautiful books, our lounging chairs, and the handwriting curtains that I made a few weeks back.

Pictures done by Jenni Merritt Photography


That wooden door will be painted white when the weather gets warm enough to paint outside.  And I am still undecided about the fate of the wood behind the fireplace...


There you have it!  Our living room thus far.  There is still work to be done but it is coming along.  This is absolutely my favorite room in the house.  It's a room we can sit and talk in, a great room to read in, and I am so happy with how it is coming along!

Wednesday, January 2, 2013

General update and a new floor!

Okay, I just saw that it has been over a month since I did a blog post, yikes!  And trust me, that isn't because we haven't been working on things!  But, here is a general update on what we've been working on:


  • We got the roof completely on on the new addition.  
  • Windows are installed.
  • Sheetrock is hung.
  • The walls have been mudded and taped.
  • We have a good chunk of the paining done but still have a good chunk left.
  • Most of the cabinets have been painted.  I'm hoping to finish the rest tomorrow.  


There will be more posts coming on most of these things, as well as pictures!

But for now, I'll show you our pretty new floor in the kitchen/dining room/living room!  We're not totally done, but we knocked most of it out today and will finish it tomorrow.  All total, it will be around 1,000 sq/ft.

We bought this from Costco a few months ago when they were doing a sale.  It was $1.50/sq/ft.  We went with the cherry vineyard and it is beautiful and WAY easy to install.

This stuff just clicks together.  And looks great when it is done.

It begins!

Here is a tiny preview for you of the kitchen.  Like I said, it is only half painted, the windows are not wrapped yet, and no backsplash, but you can see the floor!

Remember the before?:
Boring floors, and itty bitty kitchen.  It is literally double the size now.


Before/After.  The old flooring in the kitchen was this cheapo, nasty rollout stuff.  Loving the new flooring!

More updates to come soon!


Monday, November 26, 2012

Bathroom Vanity Makeover!

While we sadly do not have a "Master Bathroom" in the new house, but there is a bathroom right next to our bedroom.  It isn't very big.  Hopefully someday we can add on an actual master bath.  But for now we're making due.

But the bathroom had this boring, oak vanity that I really didn't care for, as well as a very small cabinet mirror.

Like I said... small bathroom.  I couldn't get a very good angle.

I also didn't like how it has a black counter top with all that wood.  It felt very mismatched.  

So we painted the walls a light gray, the baseboards got a fresh coat of white paint, and the vanity got a makeover.

Priming.

Painted.  I just used a very basic white semi-gloss.  It was extra from when we painted my son's bedroom.

I was lazy and didn't pain the inside of the cabinets...

I wanted to glaze the cabinets but I'd never done it before.  So I watched a bunch of tutorials on YouTube and after I finally found the right kind of glaze (seriously, this was way harder than it should have been.  For future reference, don't bother at Home Depot, Lowes carries it for $9 a bottle) I went at it!

The first one went pretty well!  I was happy with how it turned out.

I used a 1" foam brush and just roughly and quickly brushed it into all the bevels and details.  I left it for a few minutes and then took a damp rag and wiped it back so that it just stayed in all that detail.  It took me probably an hour to do the whole vanity, though some of that time was spent in waiting for the glaze to dry a bit.

All done!  Though not with all the hardware...

Up closer.

We got that awesome mirror for $39 at Lowes as part of their Black Friday sale!  I love it!  

The make over isn't quite done yet (still more hardware to install as well as a new faucet to find and then install), I'm really happy with how it is coming along!


Chugging along!

Sorry it has been a while since I updated!  I kept forgetting my camera over at the house and it feels pointless to update unless I have pictures to share.

So, we've mainly been working on the new addition the last few weeks.  We got everything all framed in and have all the windows put in.  We are waiting on the two doors that still need to be put in.

I wanted to share these awesome windows we got for the kitchen!  They were a miss order the hardware store on the island here had, so we offered them a low price and they accepted!  They look AWESOME when the light comes through them because of the prism shapes of some of those small squares.  Sorry for the non full view, the scaffold was in the way and I couldn't move it on my own.


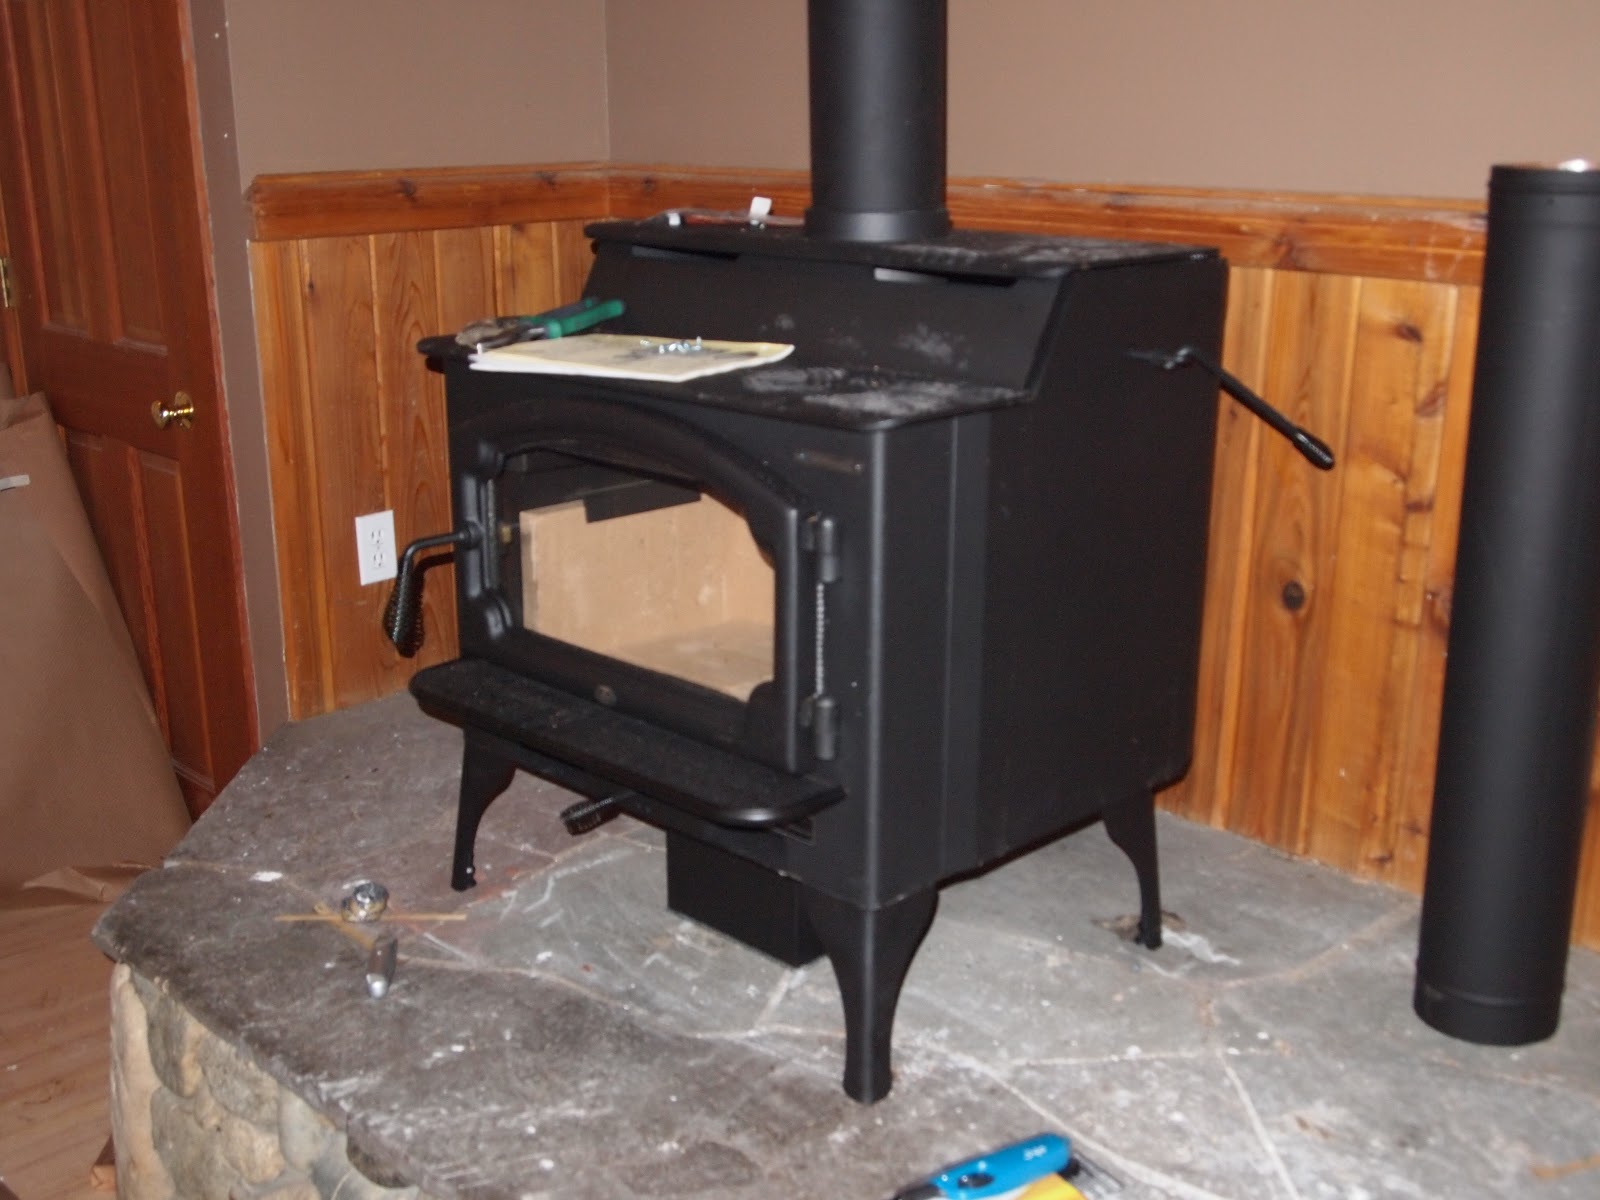
We also got a new wood stove!  When the old owners found out they were going to lose the house to foreclosure, they took a bunch of stuff, including the wood stove.  With it being winter it is getting pretty cold without blaring the electric floor heaters all the time.  So we went and picked up this bad boy!  It was the second largest stove the store carried and will heat the house wonderfully.


So the plan for this week is to finish up the electrical for the new kitchen, dining room, and family room.  That should be wrapped up tomorrow, and then the insulation is supposed to get done on Thursday and the house will finally feel warm again!  Woohoo!


Wednesday, November 7, 2012

Downin' trees, pourin' concrete, and puttin' up walls!

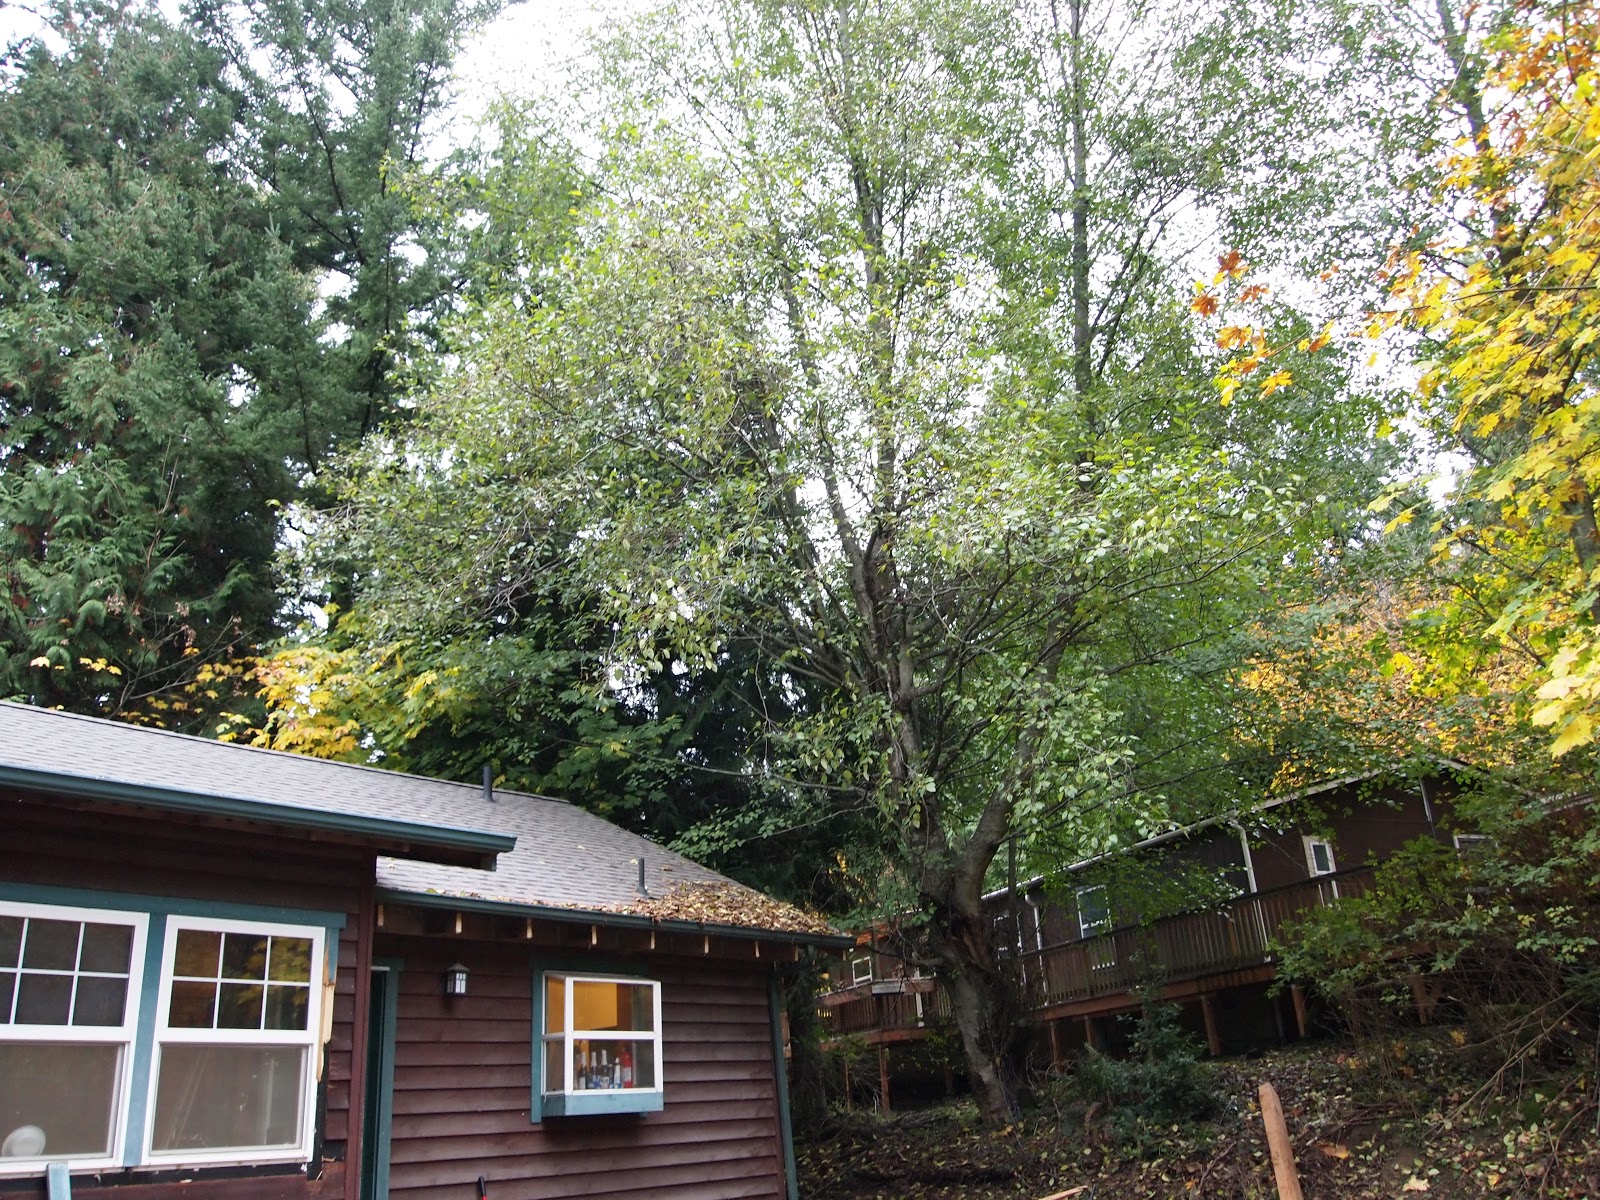
So, this is the tree that was the problem:

It was hanging over the house, it was starting to rot out.  So it had to go.


And down it came!  It was a tricky removal considering it was leaning over the house.  We brought in our friend James who does this for a living.  He climbed up about half way up the tree, tied a huge rope around it, and then used this pully system around another tree.  From there, we tied the rope to not one, but two trucks to pull it away from the house.  As you can see, it all went down perfectly!

Next we set up forms to pour the concrete.

Sadly I didn't get any pictures of just the concrete after it was poured but it is 576 new square feet.

The guys started ripping out the roof and the wall that is coming out.

The inside of the house is a bit exposed at the moment, lol.  Thankfully there are 3 sections of the house: the kitchen/living room area (which is the area that is exposed), the west wing with the master bedroom, my office, and the guest bedroom, and the east wing with the kids bedrooms.  There are doors to both wings so we can close everything off very nicely.

They didn't get very far tonight with the framing before it started getting dark, but I can't wait to see it all tomorrow night!


Sunday, November 4, 2012

It must come down...

We were in the process of getting the forms set up to pour concrete for the addition Friday.


And then Justin noticed a problem.

A tree.

This tree is a HUGE alder.  From what I hear alders reach maturity quite quickly and then they start to rot out.  And this one is hanging over the house.  And is already starting to rot.

So we called up a friend who takes down trees for a living and he took a look at it.

We will be cutting the tree down tomorrow and then chopping it up for firewood.  And then hopefully we can finish setting up the forms on Tuesday to pour the concrete.

Tuesday, October 30, 2012

Nasty grout - be gone!

We have this hallway in the house that leads off of the living room, loops past the master bedroom and bathroom, past my office, and out to the side door.  In that hallway is this tile.

It's blue, with tan and gray flecks in it.  And at first I HATED it.  It is not a color that I would EVER pick myself and I really had planned on carpeting over it.  But then we painted that hallway and painted the trim and I started to kind of not mind it.  The colors all worked together a bit better.  I would still not pick it out myself, but it is okay to stay now.

But the grout was NASTY.  It was obvious that the previous owners kept their dogs in this hallway.  There are doors that close off the whole thing if you'd like.  And it smelled like dog in the hallway in a bad way.  The grout was dark, black really.  I honestly didn't know what color it was supposed to be, but I was sure it wasn't supposed to be black.

So I hopped on Amazon (since we live on this secluded island, Amazon is my best friend) and looked for some grout cleaner.  I ordered this:

You can buy it HERE on Amazon

And broke out my handy scrub brush:

This was the tile before:

Yuck....

I sprayed the cleaner onto the grout.  I used the stream option, not the wide spray, this way I was able to target just the grout and not waste any.  I let it sit for a few minutes and then scrubbed it with the brush.  And lastly I mopped everything away.

Well, I can't take credit for all of this.  My awesome husband actually did about half of it!  Isn't he the best?!

I couldn't believe how well it worked!  I wasn't sure it would lift any of the stuff that was caked on but I was pleasantly surprised!

Clean!  Though not quite dry.  It will continue to lighten.  The grout takes forever to dry, that's why I only have this one little picture.  This was a section that was semi dry to show you that the grout is in fact a light gray!  

I will update this post tomorrow with a pic of the whole hallway with dried, clean grout!

For sure recommend this cleaner if you too have nasty grout!


House Overview

I thought I'd better give a general introduction and overview of our Taylored house.

This is what it looks like on the outside
Yes, it was raining.  Yes, we live in Washington.

We are planning to paint all of the outside come spring when things dry out.  We're going for something like this with the coloring:


This is the view out the front door:


Now, some specs:

5 bedrooms
2 bathrooms
2,000 square feet (we are doing an addition that will be another 500 square feet)
Sits on .42 of an acre
We live about 2 minutes outside of town
And about 8 minutes away from the golf course where Justin works
Built in 1992

And we love it!

Anything else you'd like to know?